North Suburban Hammond Organ Service
Pictures of Recent Projects
Here are some pictures of recent Hammond Organ projects. As you can tell by looking at these pictures, many of which show internal views of typical Hammond tone wheel organs that very few people have ever seen, these instruments are quite complicated and also are incredibly well made. Laurens Hammond was a perfectionist and a real stickler for quality and perfection, as well as precision, and these qualities are manifestly evident in all of these instruments that the Hammond Company made for all of the years that Laurens was running the company. Here and on the next several pages are pictures of some of my recent projects which involve typical Hammond instruments beginning with this look at adding MIDI and also a string bass accessory to a C2
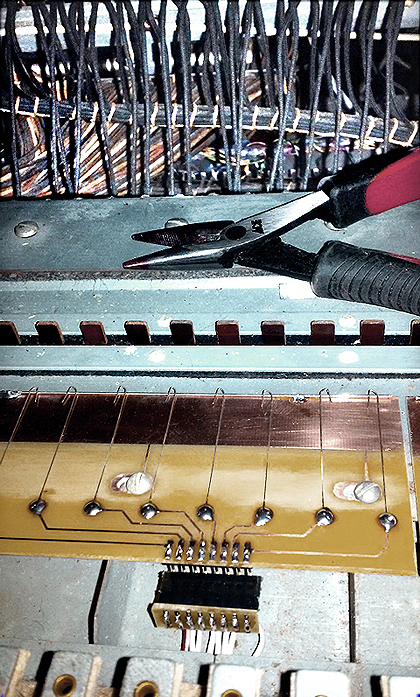
Here's a look at the new silver MIDI contacts being installed on the C2's lower manual. Notice that I have bent the ends of the contacts over so they slightly resemble candy cains. The reason for this is so that there are two actual contact surfaces that make simultaneously, which is great for contact redundancy and added reliability.

Installing new ribbon cables for MIDI in the upper manual. These will exit under the upper manual left cheekblock and then connect to the appropriate MIDI multiplexer card.
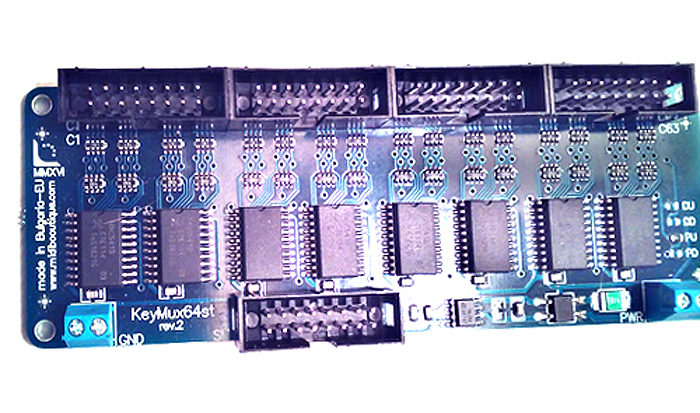
This is a MIDI multiplexing card. The 61 wires from the MIDI contacts on a manual connect to this card. Here the signals are combined onto 16 wires which then go to one set or channel of MIDI inputs on a MIDI encoder card.

Here I am starting to replace the playing keys, two of which you see to the left. Each key has an adjustable nylon screw which pushes the silver wire MIDI contacts against a busbar, completing the circuit.
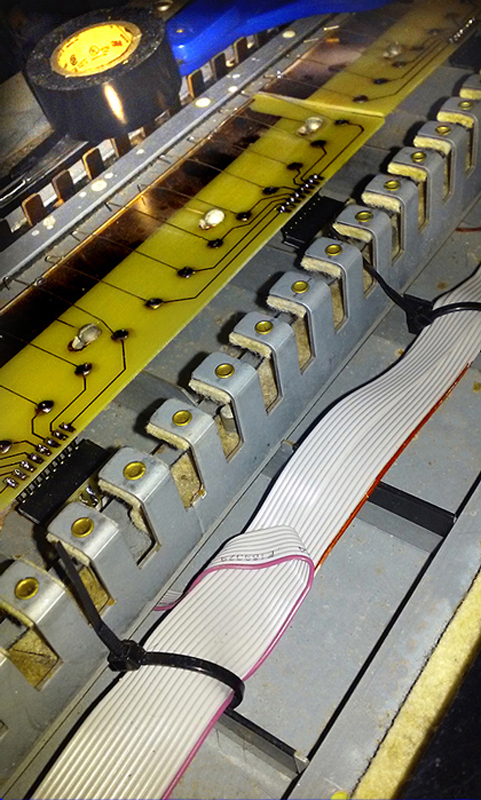
This shows the new contact cards being mounted on the upper manual. For the wiring, I chose ribbon cable, as it lies flat and is easy to work with. Cable plugs and sockets of the IDC type complete the process. These are easy to put on ribbon cable with a special cable crimping tool, and make very good reliable connections which you can easily unplug to remove a key contact card for maintenance if it should ever become necessary.
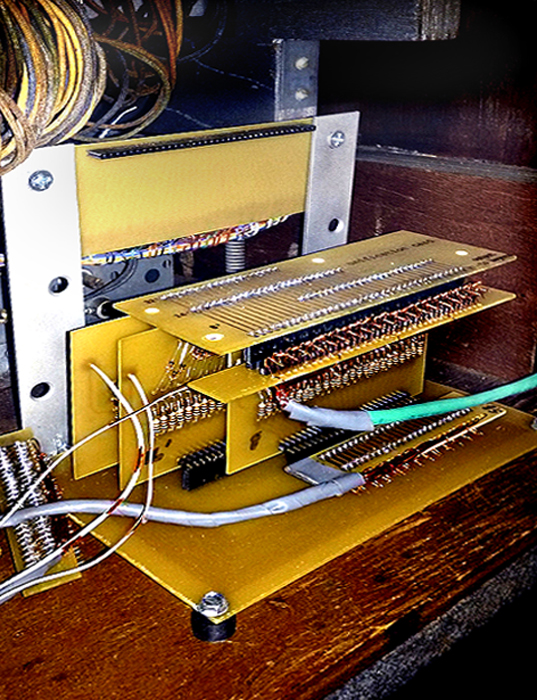
Here I'm installing a diode matrix for the pedal sustain unit. Because the pedal sustain is available at both 16' and 8' pitch, as well as a resultant 32' pitch, we need a keying relay because many of the individual pedal sustain keyers could be keyed from several different pedals depending on how it is set up. The diode matrix relay accomplishes this and necessitates only using one contact per pedal, even if a single pedal might sound three keyers simultaneously.